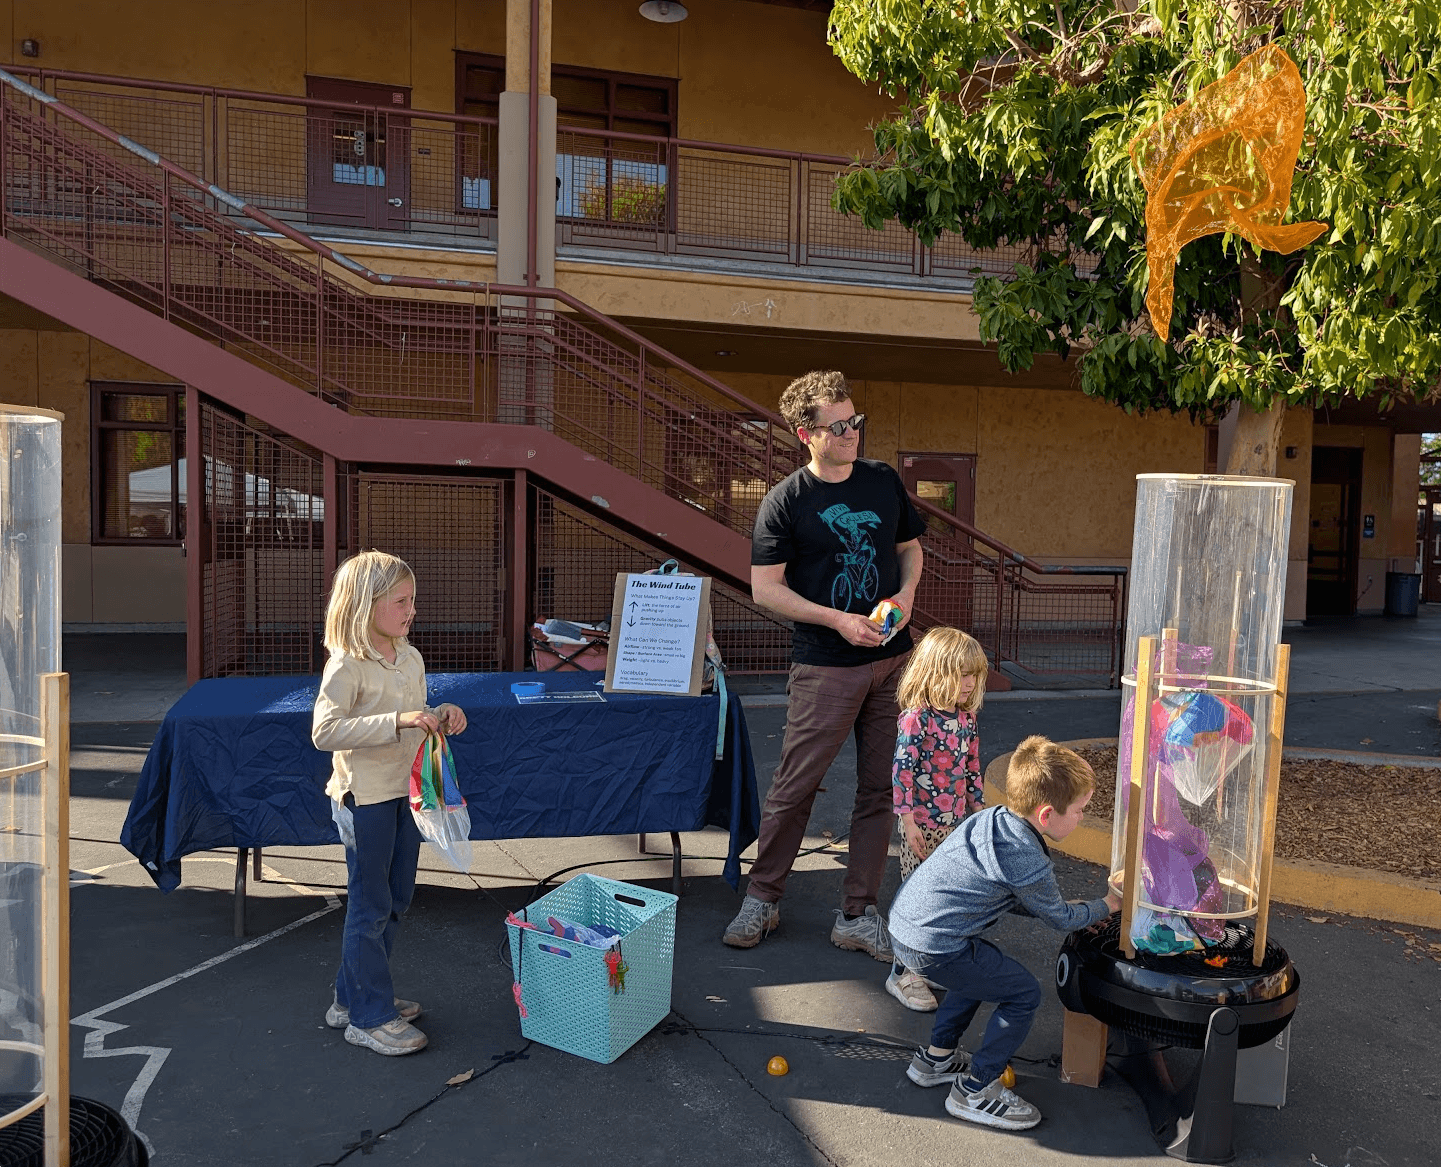
Wind Tubes for Science Night
A couple weeks ago we had Science Night at Willow Glen Elementary, and I decided to build a couple of wind tubes.
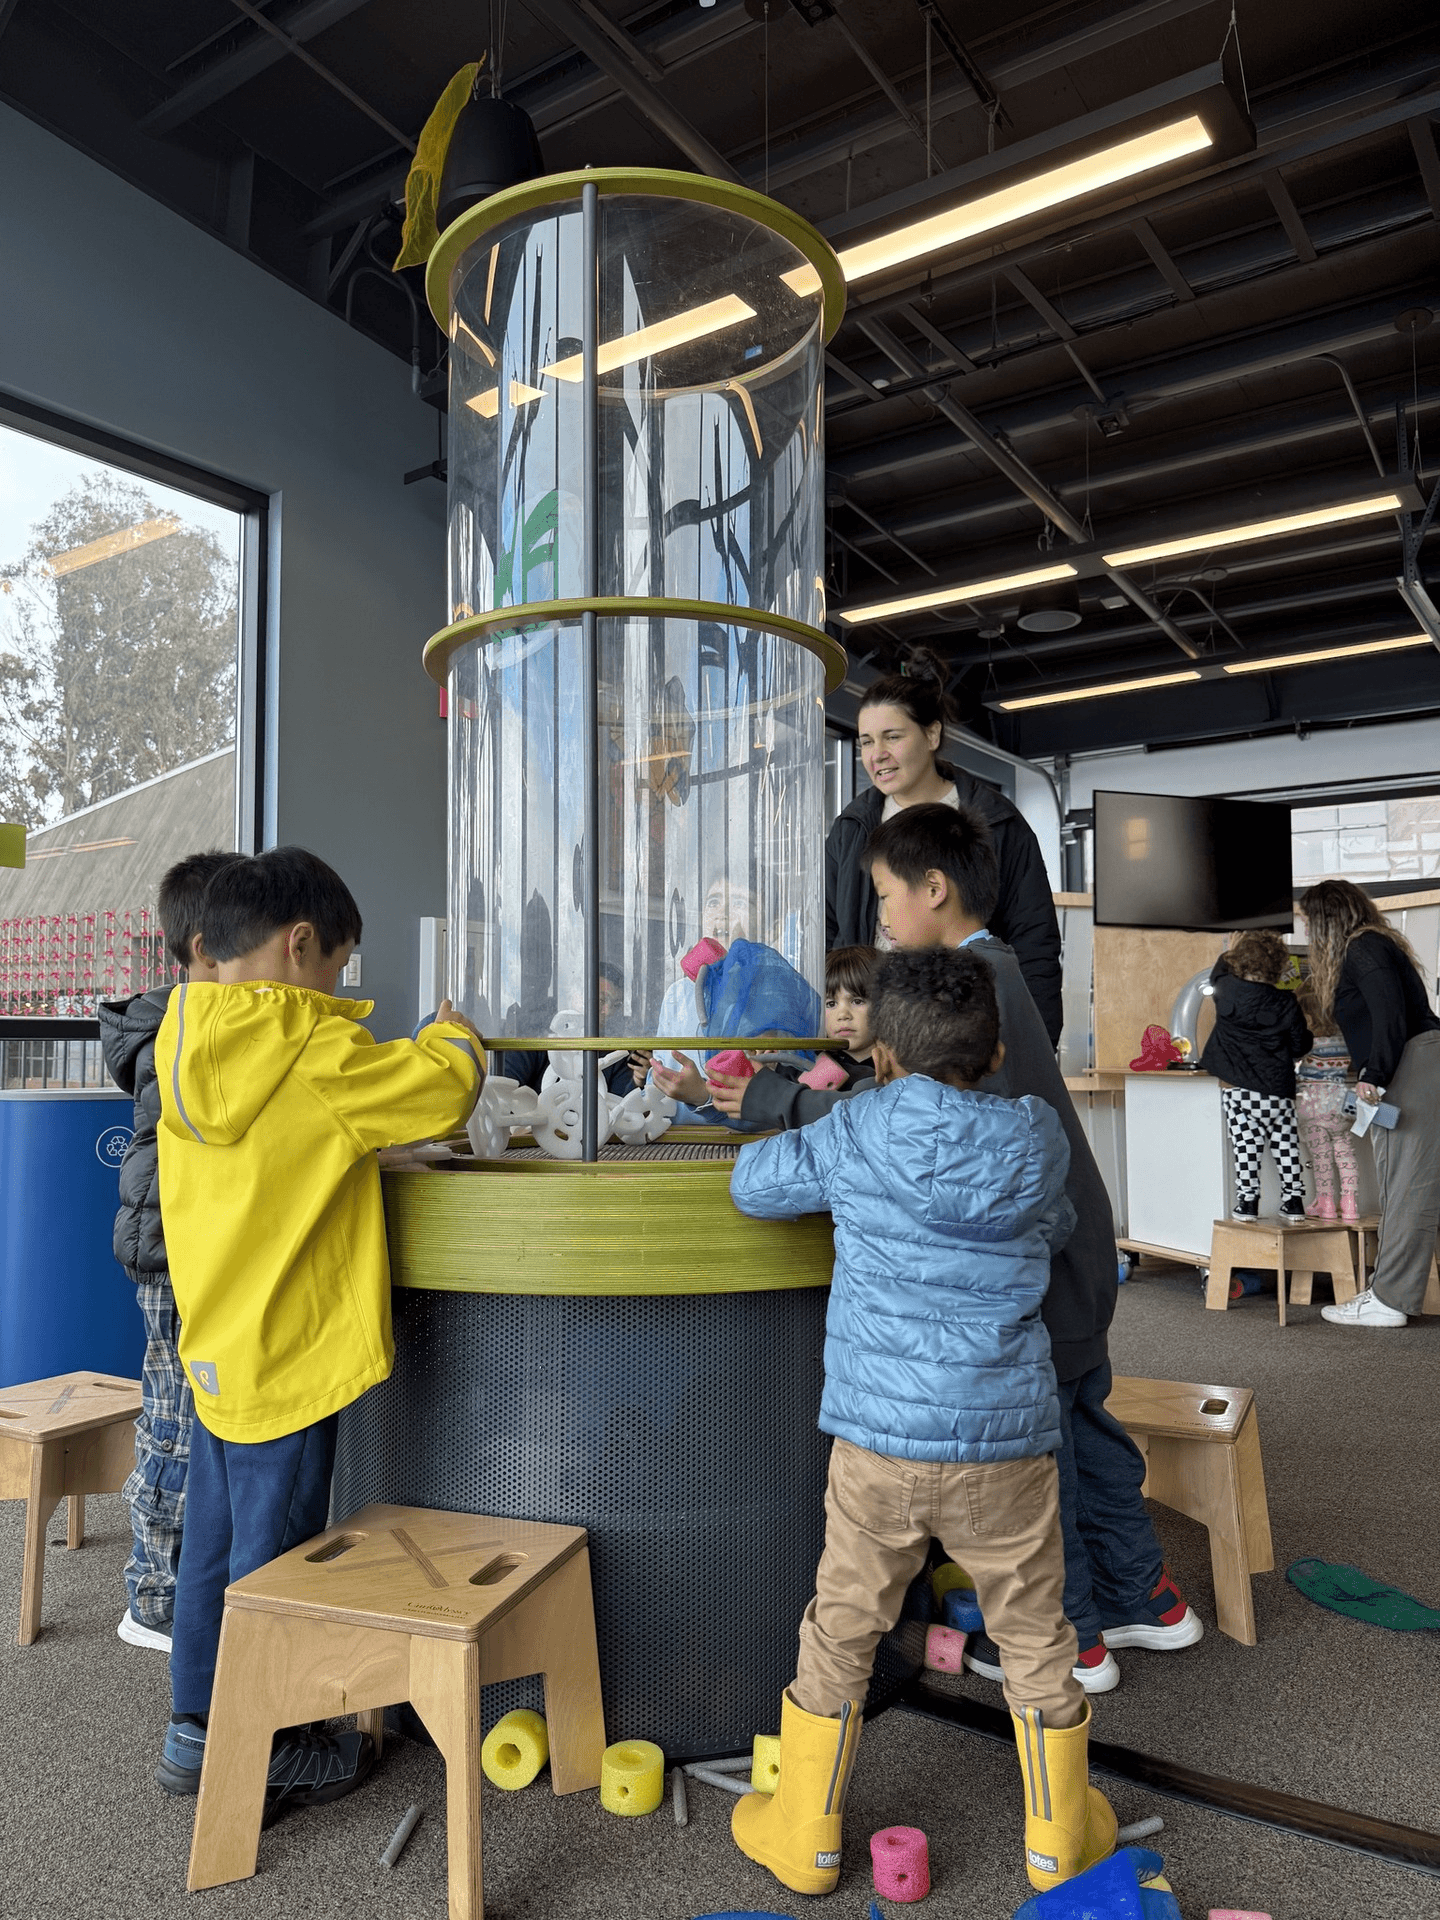
My daughters will always spend at least 15 minutes playing with this type of exhibit at science museums – trying to see what will and won’t float. Most recently we played at this exhibit at CuriOdyssey in San Mateo.
Wind Tube Instructions Reference
Here are some of the resources I found online when doing research:
- Wind Tube Build Video with CuriOdyssey Director of Exhibits, Eric
⭐ Lots of useful construction tips in this video.
The double sided tape recommended works perfect for my project as well - Exploratorium Wind Tube Instructions (PDF)
I used a big sheet of acetate as shown here. More expensive but simplifies construction. - Inventors of Tomorrow Wind Tube instructions
Includes some paper craft flying vehicles you can build.
Wind Tube Materials
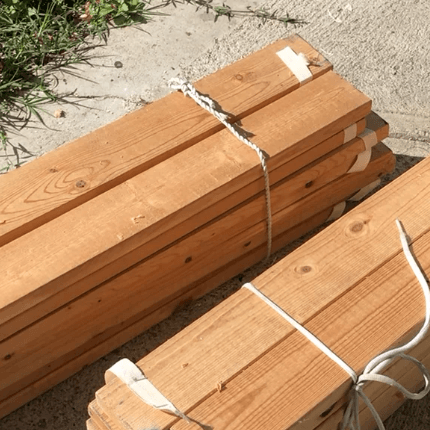
Scrap Wood (IKEA twin bed slats)
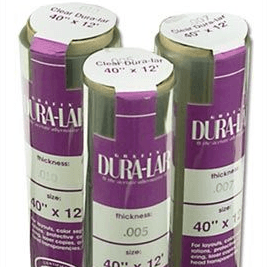
DuraLar .010" Sheeting 40" x 12 Foot Roll
https://www.jerrysartarama.com/grafix-dura-lar-pads-and-rolls-0063473000000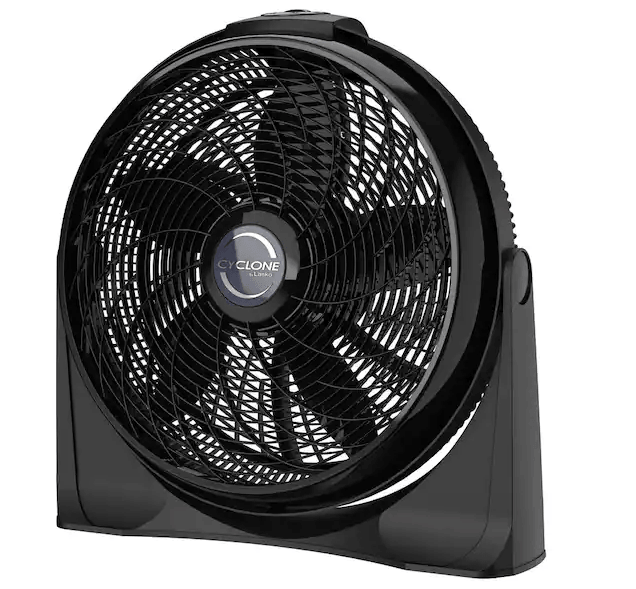
Floor fan that will tilt perpendicular to the ground
Lasko Cyclone 20 in. 3-Speed Air Circulator Floor Fan
It seems fan models change frequently as I couldn't find any of the fans mentioned by other wind tube instructions online. Some of the reviews for this one mentioned a strong column of air, but likely any sufficiently strong fan is fine.
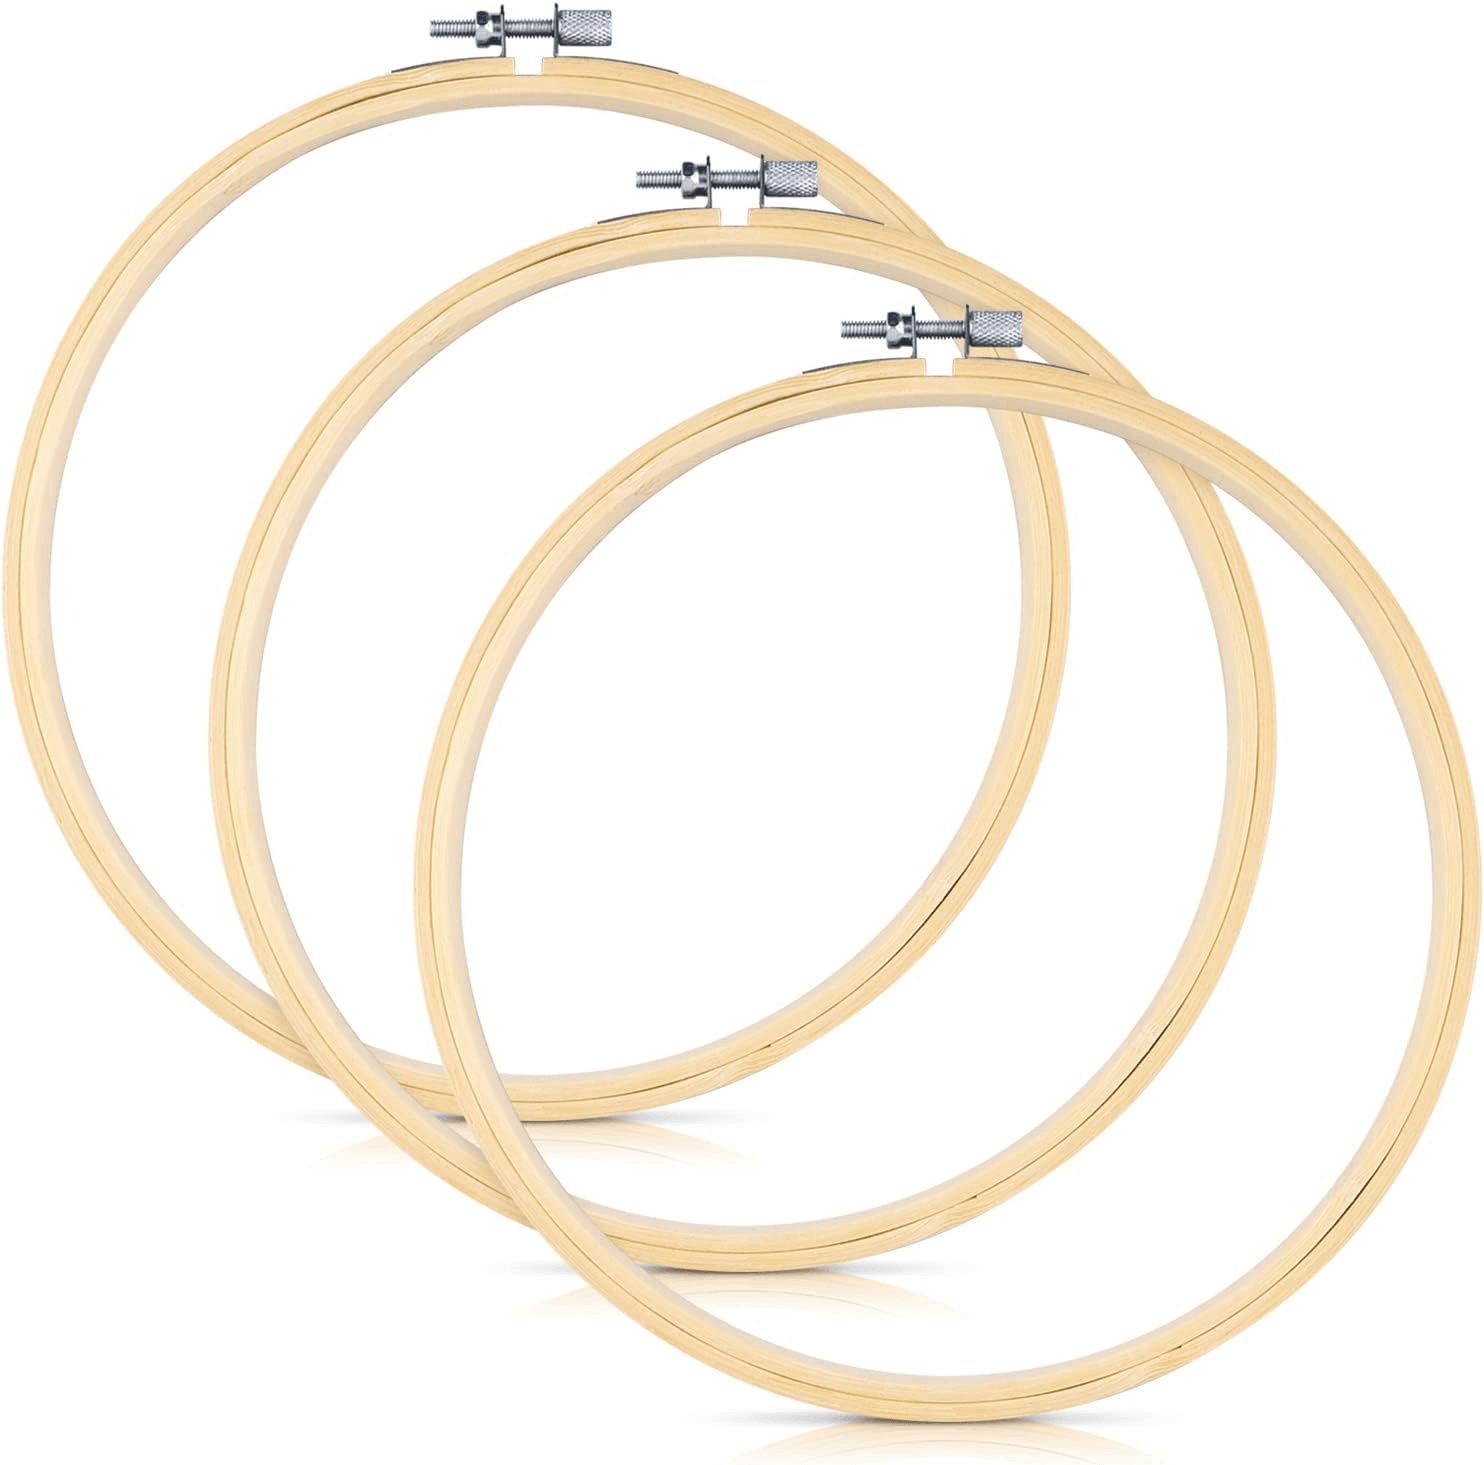
Wood Embroidery Hoop 14"
https://123stitch.com/item/Cousin-14-Natural-Wood-Hoop/CSN-00939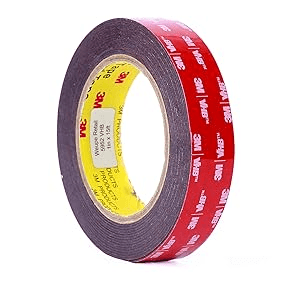
3M VHB Tape
https://www.amazon.com/dp/B01BU7038AWind Toys
We made some toys from tape, balls, and paper and tried a few things from the recycling bin, but these purchased toys were popular at Science Night.
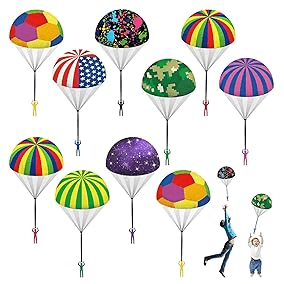
Parachute Toys
https://www.amazon.com/dp/B0DBR6N77M
Rainbow Dance Scarves
https://www.amazon.com/dp/B09Y99ZX4FConstruction
I loosely followed the instructions from Wind Tube Build Video with CuriOdyssey Director of Exhibits, Eric except I used the 40” by 12’ DuraLar sheet instead of using packing tape to make a large sheet out of cake collar acetate. It’s more expensive, but enough material to build 2 wind tubes with stronger, simpler construction which made sense for science night. The only fans I could find on short notice were a bit larger than the fan in that video, so I sat my tube on supports on top of the fan similar to the Inventors of Tomorrow instructions.
Tubes
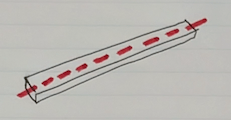
I rolled out enough DuraLar to wrap around a 14” diameter hoop with about 4” overlap. Presumably could have used math to determine this would be 44” + 4” of overlap and used a ruler, but I just marked a line and cut with scissors.
I found the key to this step was generously using blue masking tape to hold things in place while I got the 3 embroidery hoops in place and tightened. Some instructions skip a center hoop, but this gave me additional rigidity and an attachment point for the supports.
Legs
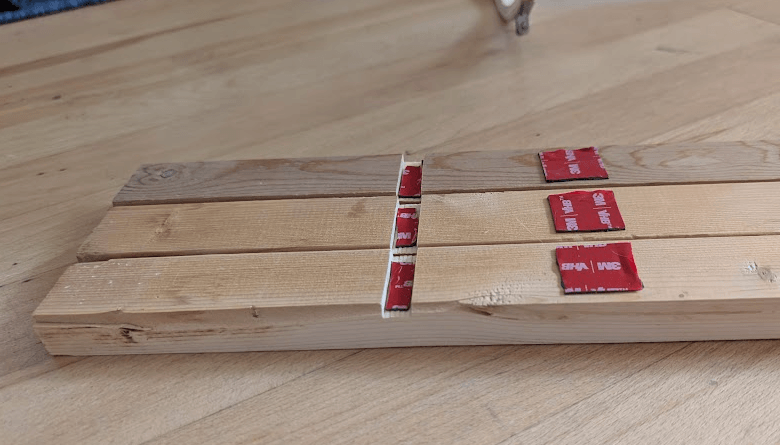
I had some scrap wood (IKEA twin bed slats) and a table saw, so that’s what I used for construction.
The slats started at 2¾” x ¾” x 30”
First I cut into 2 pieces lengthwise, so they were roughly 1⅓” x ¾” x 30”
Then I set the table saw blade low and created notches at 5” and 25” to line up with the embroidery hoop supports.
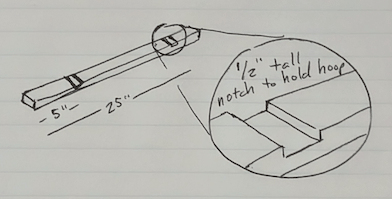
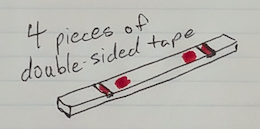
Finally I added double sided tape in the groove for the hoop and a larger patch below to stick to the side of the tube itself.
For final setup I added two blocks under the fan so that it couldn’t tip forwards or backwards. I also drilled holes near the bottom of the legs so I could use pipe cleaners to attach the tubes to the fans.

Wrapping Up
This is a pretty easy project to put together, and not too expensive if you
- already have a fan
- build your own large acetate sheet from packing tape and an acetate cake collar roll as shown in the CuriOdyssey video
My total cost was around $200 for two wind tubes. Hopefully they last a while!
I’d guess around 100 kids came by and played with the wind tubes at Science Night and there were few super fans that spent nearly the entire 2 hour event there. They didn’t suffer any wear and tear even with a few aggressive participants trying to load every scarf in at once!